

When I make birthday (or anniversary or get well soon or whatever) cards, I don’t just make a load of generic cards and choose one for the recipient (though maybe I should, it would be far less time consuming), I really make them for that person; with them in mind. Their tastes, their aesthetic. And so on.
This card was for my eldest niece, for her fourteenth birthday. Being fourteen she needed something grown up enough, but also not too grown up (did that make sense? Probably not!). I chose the First Edition ‘Sweet Nothings’ paper pad by Trimcraft to make this card, as it has some seriously pretty papers in it.
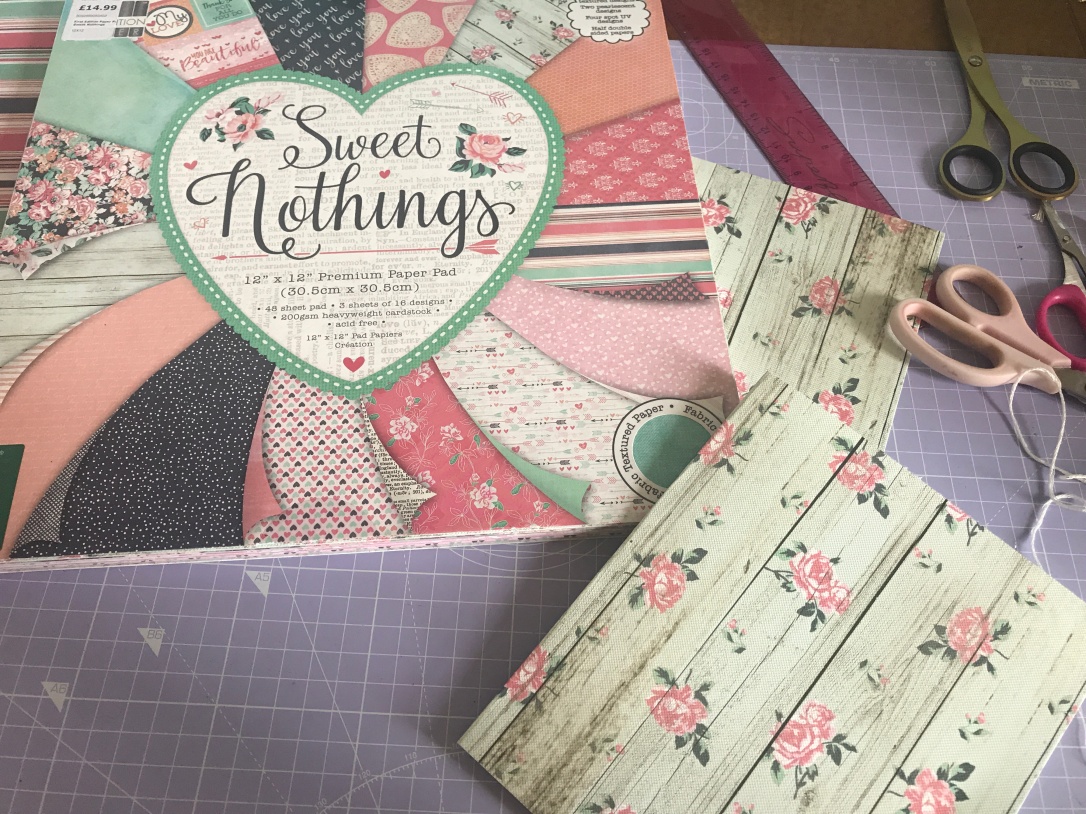
And the paper I chose for the base of my card is one of the textured papers with this beautiful wood and floral pattern on. I made the card 6×7″ (it needed to be slightly taller than 6″, you’re about to see why.


So I wanted to stitch my niece’s name onto the card. I printed off her name in one of my favourite fonts to stitch with (‘Beyond the Mountains’). This font does however often do this strange thing where it cuts off the bottom of some of the letters when you print so I filled in those bits with pencil.
I lined the template up to where I wanted it on my card and poked in the holes. If you’re new to paper stitching you can read my how-to on it here. Words are a little harder than shapes but it’s the same basic principle. Just make sure you have your printed template handy so you can use it for reference, sometimes all you can see is a load of holes and it’s hard to know what’s what.


I chose to stitch in white, as the cream thread I have is a bit of a yellow cream and so wouldn’t work with this card. But this turned out to be a bit of an error too as once the word was stitched it was quite hard to see. It shows up better on the picture above but in real life you had to squint to read it!


To solve this problem I decided to fill in the letters with some colour, using this ‘tea dye’ varnish, so that it would be a fairly subtle colour. As you may be able to see I did accidentally paint some of the thread, I don’t have a very steady hand, but it doesn’t matter too much!
Once that was all done and dry it was time to do the rest of the card. Whenever I’m doing a project like this I have a little root through my ephemera packs to see what I have to match, then throw it all into a little basket so it’s handy.

Then, well, I stuck it on! I had a play around first, seeing what I wanted to put where, and I usually take a couple of photos on my phone to see what I like best. This is what I ended up with:
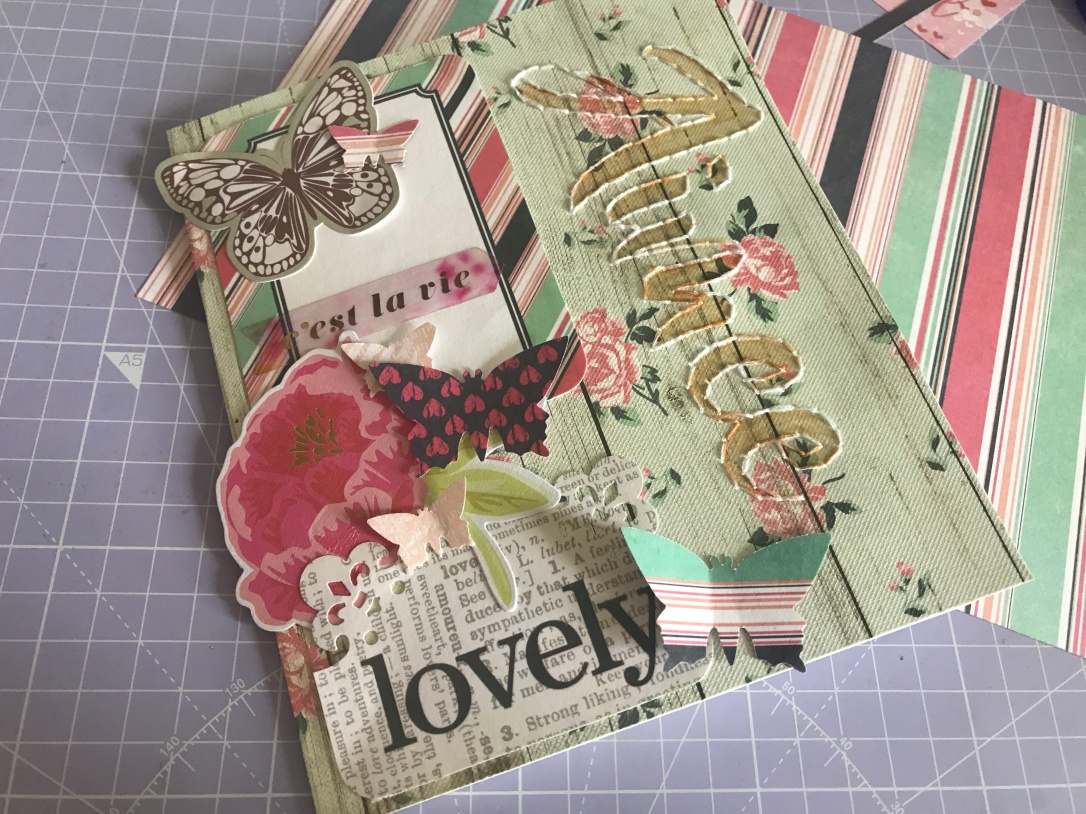
It’s a mix of pieces from the cut-apart sheet from the Sweet Nothings paper pad, and some punch outs from it too. Then some random things I found in my ephemera root around!
The paper you can just see behind the card is what I used to line the inside. Because of the stitching on the front I had to cover up the mess of washi tape and knots that was behind it! 
Being a teenager, my niece wanted money and make up for her birthday. I’d already wrapped the make up I’d bought her but I also made a little cash envelope using my WE R MEMORY KEEPERS 123 punch board. Which I stuck down with a velcro dot on the inside of the card so it would be easy for her to remove.
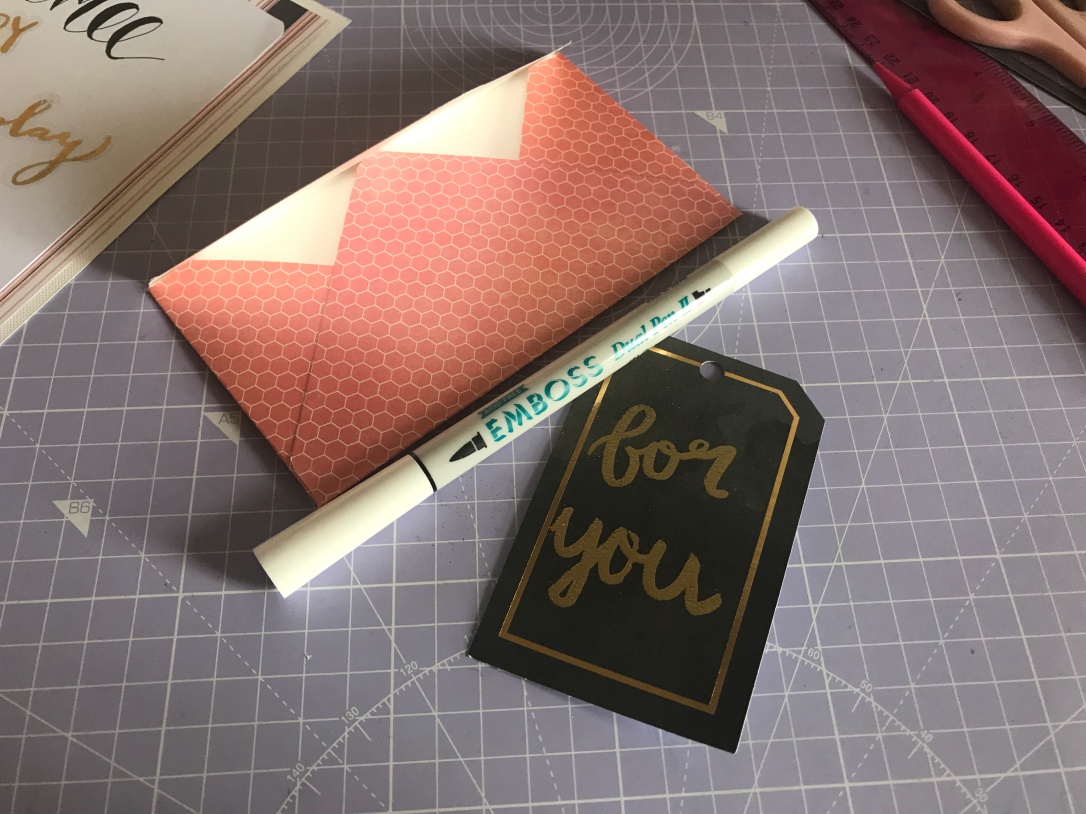
I also wrote ‘for you’ on a black label with an embossing pen and embossed it with gold powder.
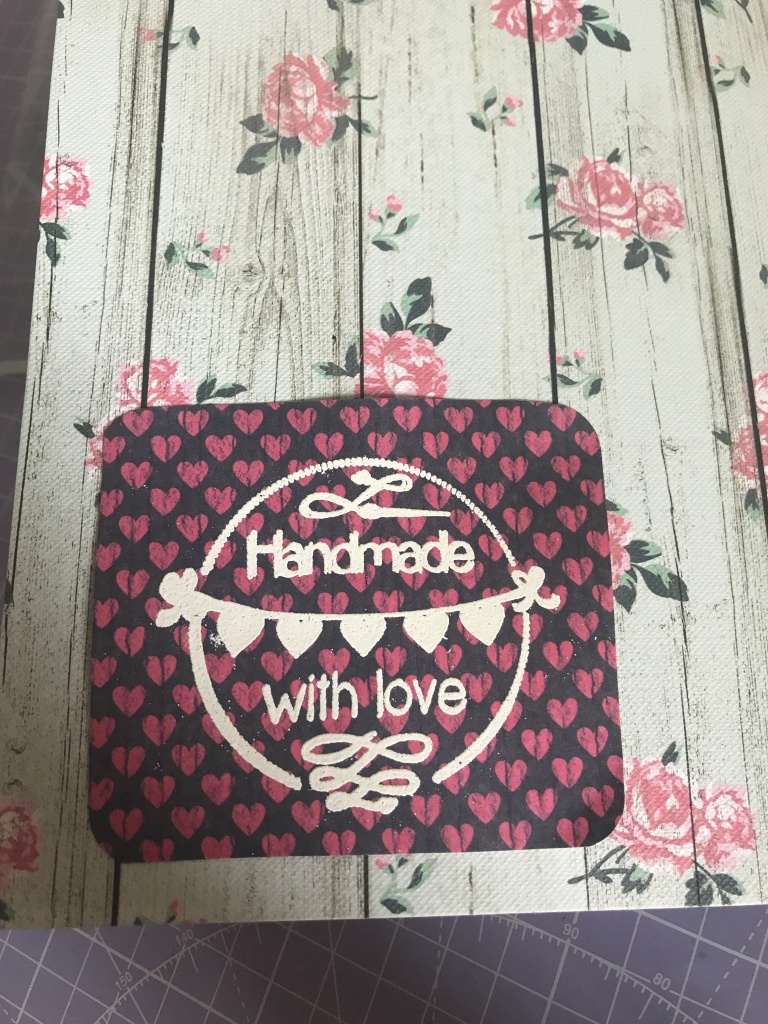
On every card I make I emboss this ‘handmade with love’ stamp too for something to put on the back of the card.
The last thing to do was to make an envelope, again using my 123 punch board. I chose what I thought was a suitable paper from the First Edition pad…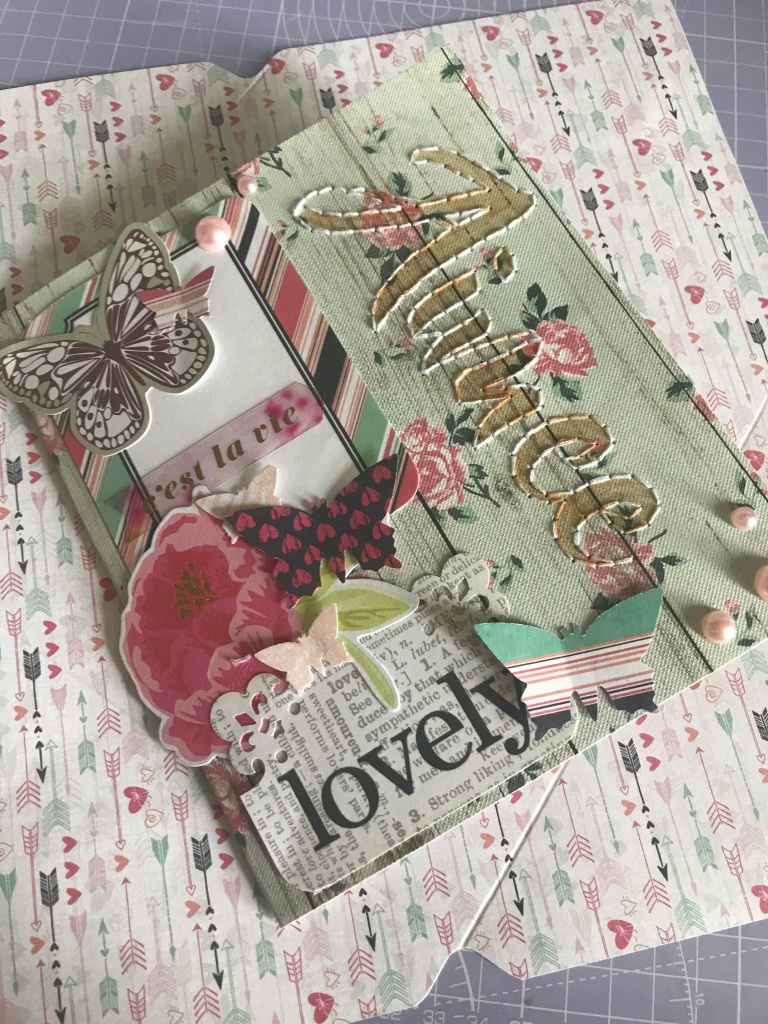
…and once it was punched I also did some simple decoration on the front of the envelope, adding her name with alpha stickers. Which I forgot to take a picture of, woops!
So there it is, one of my homemade, personalised cards. Because of the stitching, which can take an absolute age, the whole thing probably took me about 90 minutes. But I love making my cards really special for my family and close friends.
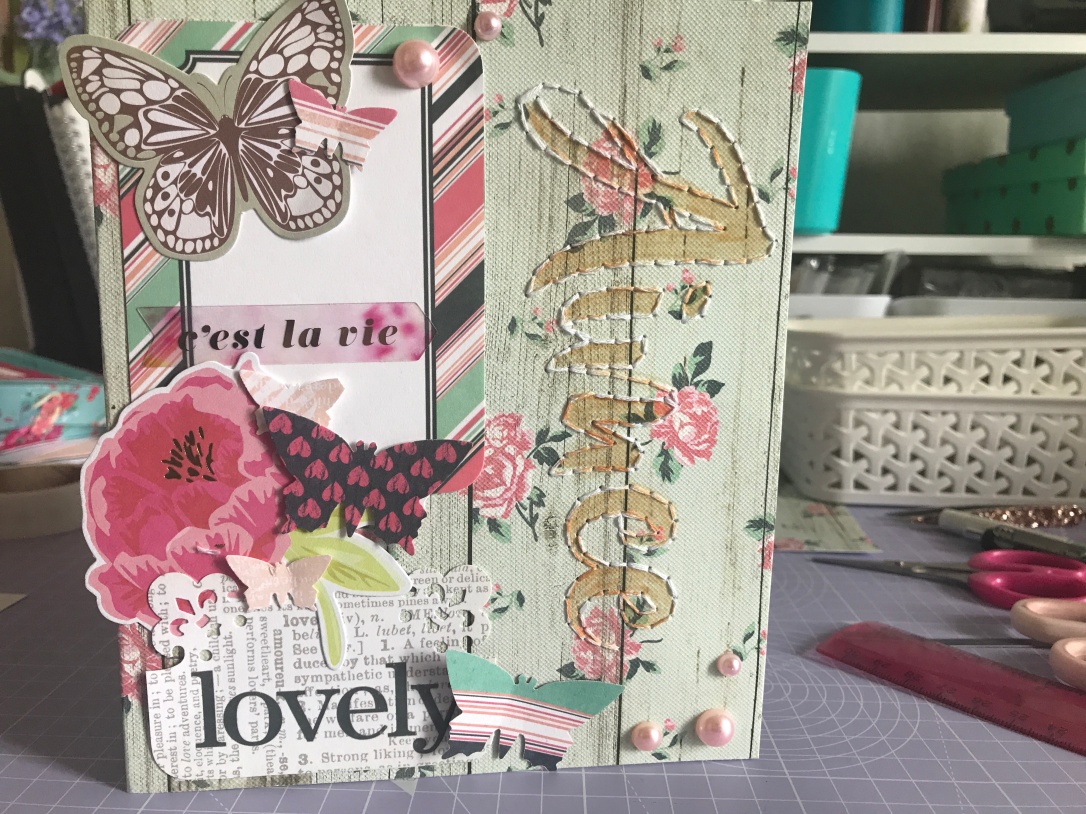
Oh I forgot, I added some flat back pearls too! That’s it… I think!
Thanks so much for reading, let me know if you’d like to see more card making posts 🙂

Grace ❤ @ms.paperlover

Yes please, I would love to see more cards Form you.
LikeLike
Yes please, I would love to see more cards from you.
LikeLike