To go along with this week’s Trimcraft Tuesday video, where I make a baby-themed scrapbook/mini album, here are the instructions on how to make the album.
You can watch the accompanying video here:
This album is one I’ve made many times, based on this video from YouTube (I’m not clever enough to come up with these ideas from scratch!), but I have adjusted the measurements, which is why we have this blog post!
You will need:
- Chipboard, or other very sturdy card (I’ve used old ‘do not bend’ envelopes in the past and they work just fine!)
- A3 white card/cardstock ( I used 210 gsm)
- A4 white card/cardstock
- Double Sided Tape
- Strong Glue
- Red Line Tape
- Scoreboard and bone folder
- Ruler or t-square
Start by cutting your board, two pieces at 16.7 x 14.5 cm, and one at 3.5 x 14.5 cm.

Take your A3 card and cut down to 42 x 18.5 cm (A3 is 42cm long so you will only need to cut one side). Mark 2cm in from the edge of each side of the card, and use these marks to adhere your chipboard pieces to the card.
Mark 4mm from each corner of the chipboard, and use this mark to draw a diagonal line across the corner (to create a triangle), and cut along these lines.
Fold the card around the chipboard, using the chipboard to help bend the card, you can use a bone folder to make the folds neater. Make sure to fold the long edges first. Adhere down the long edges (you can use either double sided tape or liquid glue here, whatever you prefer).

Use the bone folder to push and fold the edges in as seen so that all the corners are neat, then fold and adhere the short edges to the chipboard.
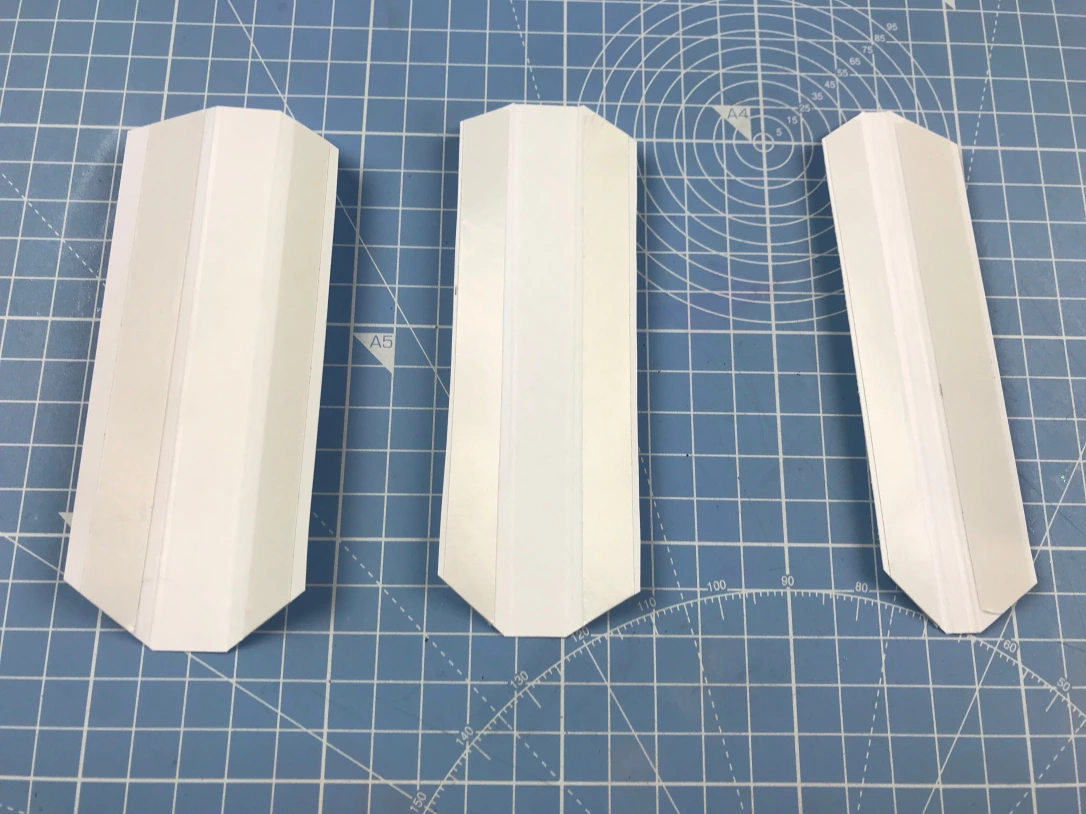
Put the album aside for now to work on the ‘binding’. Cut three pieces of card (you can use the leftover from the A3 piece you cut down for this), to 5.5 x 13, 4.5 x 13, and 3.5 x 13 cm. Score 1.5cm in on both sides of each piece, and fold and burnish the lines.

Add double sided tape to both sides of each ‘flap’ on all three pieces, then snip off all the corners. Then add adhesive to the centre of the largest piece and adhere the middle piece on top, repeat to add the smallest piece on top of the middle piece, you should end up with something like this:

Cut another piece of cardstock to 13 x 12.5 cm, on the 12.5cm side measure 5cm in from each edge, and mark at the bottom and the top. Use the marks to adhere this to the centre of the album. Then again use the marks to adhere the binding piece to this – use strong adhesive, you really want this one to stay in place!

Cut two more pieces of cardstock at 16.5 x 13 cm, and adhere these to the inside cover to cover up the chipboard.

Now we can make the pages/inserts for the album. Cut six pieces of cardstock at 27.5 x 13, and then score at 1.5 and 14.5 cm.

Fold and burnish the score lines. Then turn over and add double sided tape to the bottom ‘flap’ as seen.
Now it’s time to add these into the album, which is one of those things that on paper is really simple but SO easy to mess up! Start from the last page (on the right).

With the insert ‘open’, align the left edge to one of the binder flaps as in the photo (with the insert flap at the bottom ). Take the tape backing from the binder and stick down, then take the tape backing from the other side of the flap.

Fold in the flap from the insert, and remove the backing from this piece, then fold the insert to meet the bottom edge, and use your bone folder to seal everything in place.

Once all pages/inserts are in place, carefully bend the album like this to finish it. It is best to leave this step until the end as it’s easier to do all the other steps when the album is still flat.
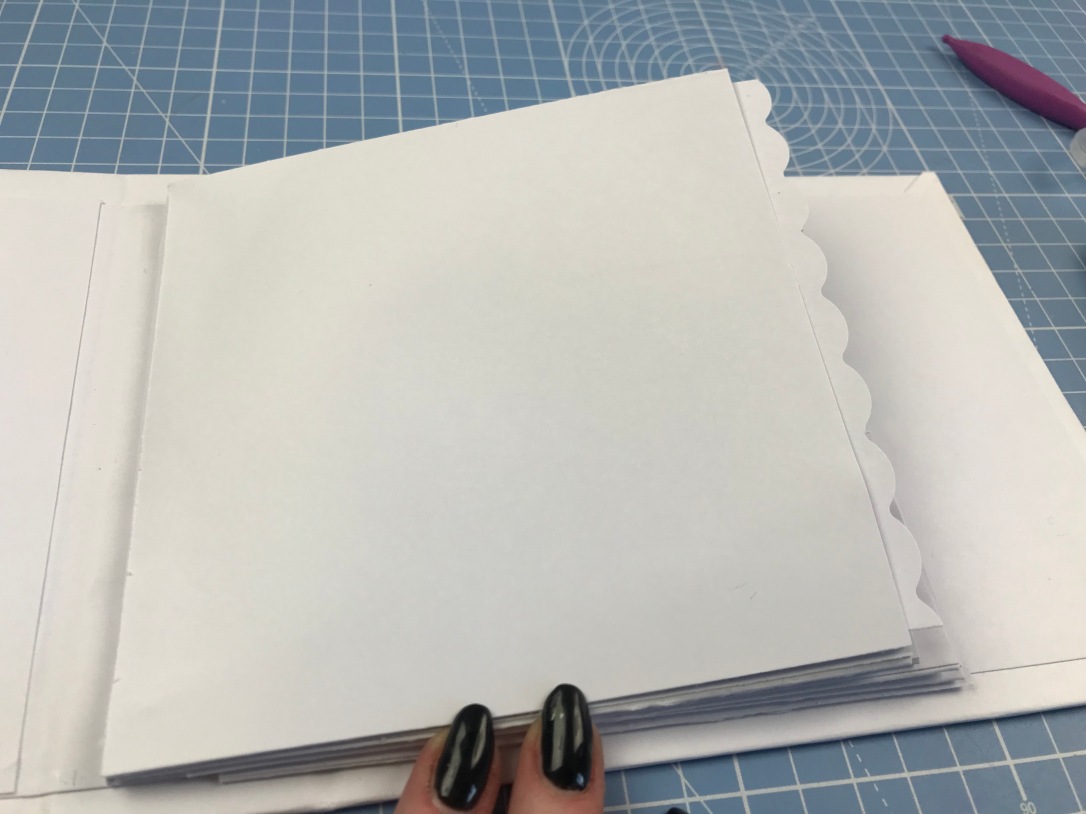
Now you just need to add in pages for each of the pockets created. Cut yardstick to 12.5 x 13 cm. On the 12.15 cm side, use a border punch (of any type, I just chose a scallop edge for this album as it works well) to add a decorative edge.

Do this six times and insert into each pocket. If you want colourful pages then cut these inserts with papers to match your theme – or you can just cover them with appropriate colours, it’s up to you.

Now you can decorate to your heart’s content! To see how I did mine, watch my video linked at the top of this post, but I’ll finish off with a picture of how mine ended up. If you’d like a product list then everything will be linked in the description box of the YouTube video 🙂


