

Sometimes layouts come together really fast – even though you’ve done minimal preparation or planning. This was one of those layouts. I did the initial stages: I cut the tree shape on my silhouette – chose my paper, then decided it needed a darker border, so did that, adding Distress Oxide in Frayed Burlap around the edge, as well as using the Dovecraft distress tool. I stitched around the edge of the main paper, which admittedly took some time but I was also watching something on Netflix at the same time which probably made it take a little longer…
but yes, after those initial things, and still with no real plan for the layout, everything just fell into place. I really do love it when that happens.

The process video can be watched here:
Almost everything used is from the Lost & Found collection – apart from the aforementioned Oxide, some Distress Stain in Tarnished Brass, and the phrase sticker in the top right, which is from my stash. It may possibly be an old Kaisercraft something, but I’m not 100% sure.
Note: If you think the stamping looks a little faded – it’s on purpose. I decided to go with second generation stamping for a more muted effect.

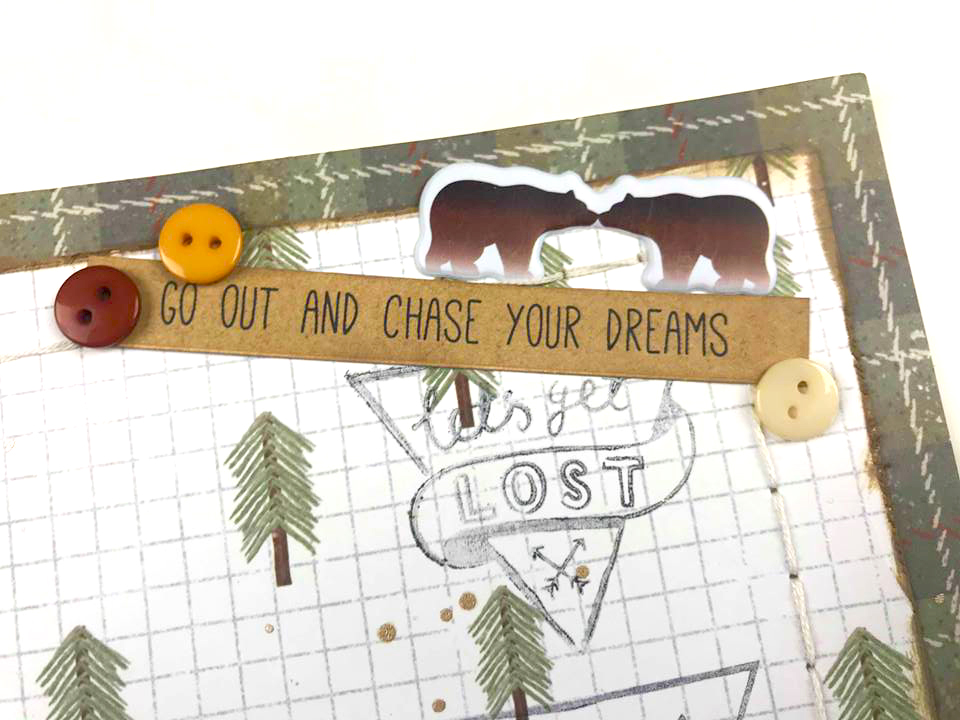
Oh, I should add: the bear and the compass around the photo cluster were embellishments I’d made previously for other projects by adding oxides to cardstock, stamping the images (which are from the collection) over the top with StazOn ink, then fussy cutting them out.

Puffy stickers and buttons from the collection were my main go-tos for this layout, but I used a fair few other bits too. One thing that was totally spur of the moment was adding the washi to strips of card stock, cutting the card to size, then adding those strips the layout. One up the right side and one under the photo cluster. Totally unplanned, but I ended up really liking it.

Then towards the end I wasn’t totally happy with that washi up the side, so added some of the twine from the collection next to it. It’s adhered at the back with washi, but I stapled it on too, just to stop the twine from going too astray!
And there we have it – more info is in the process video, plus links to the collection and other items used. Thanks so much for reading ❤

